

C21. EAST TERRACES
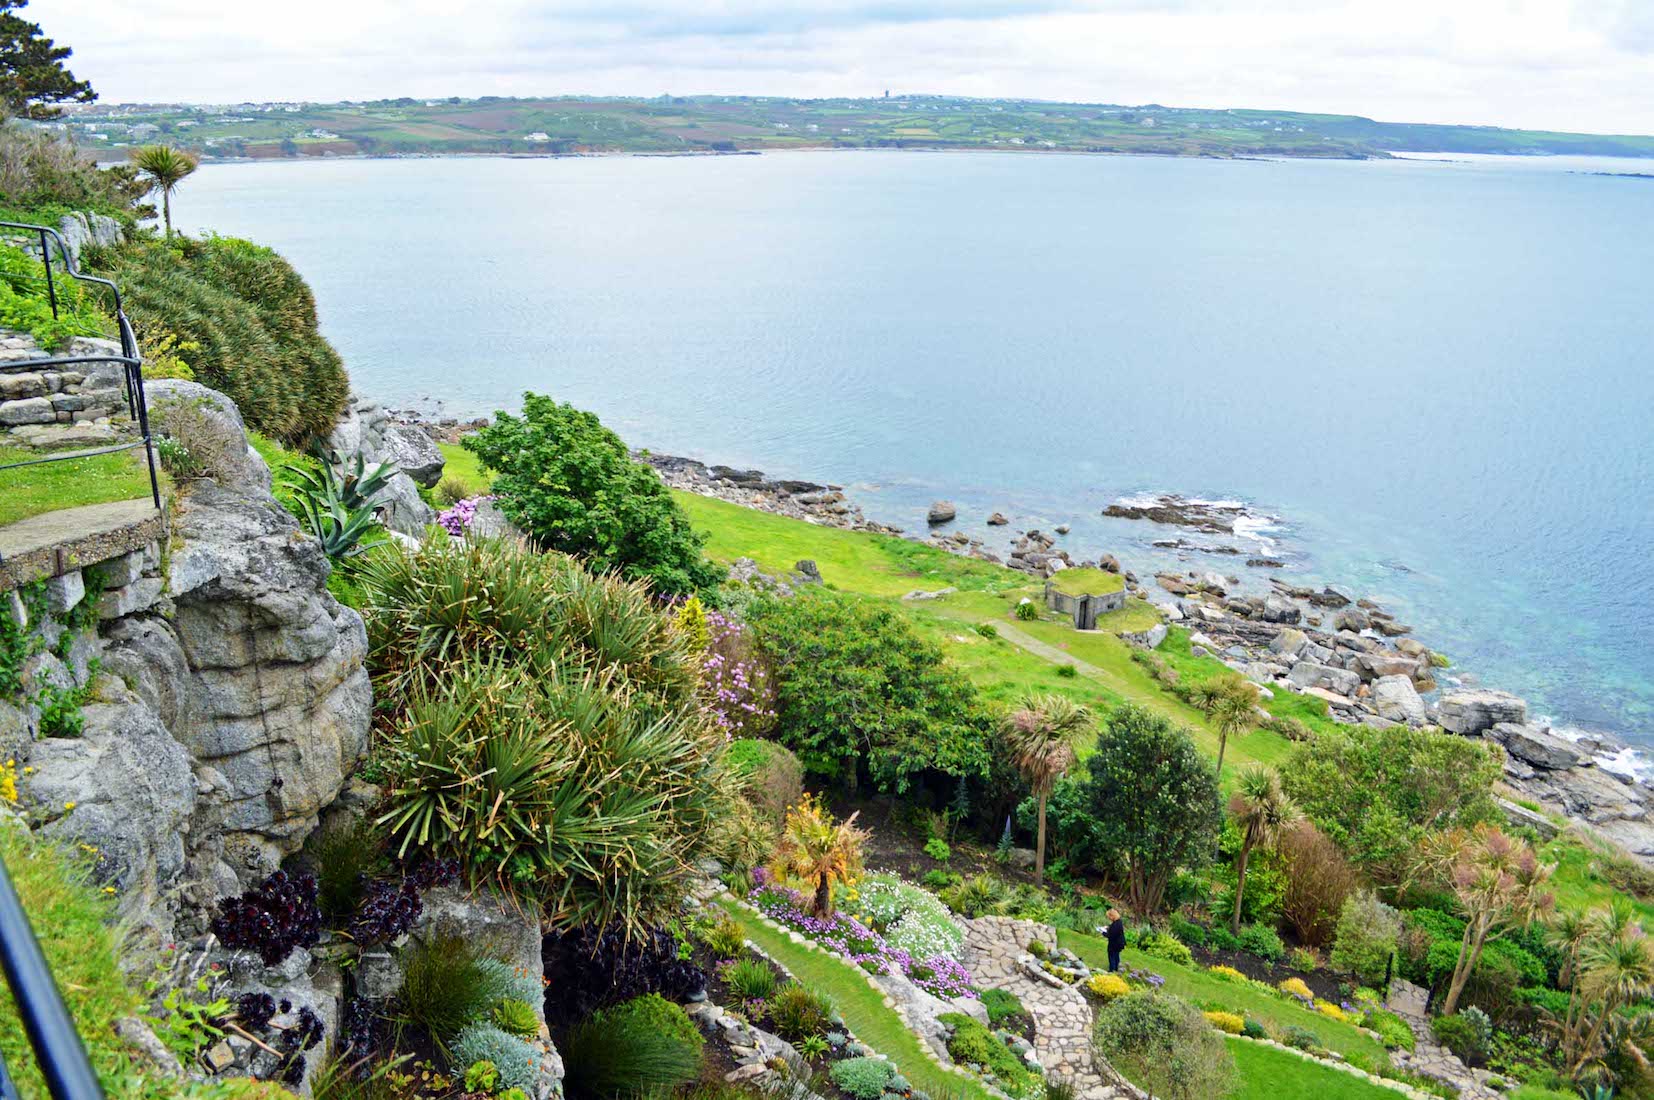
Also from here there is a panoramic view out over the East Terraces and across the sea to the mainland.
C22. DOWNWARDS

It is time for us to leave the high ground, and make our way down the East Terraces.
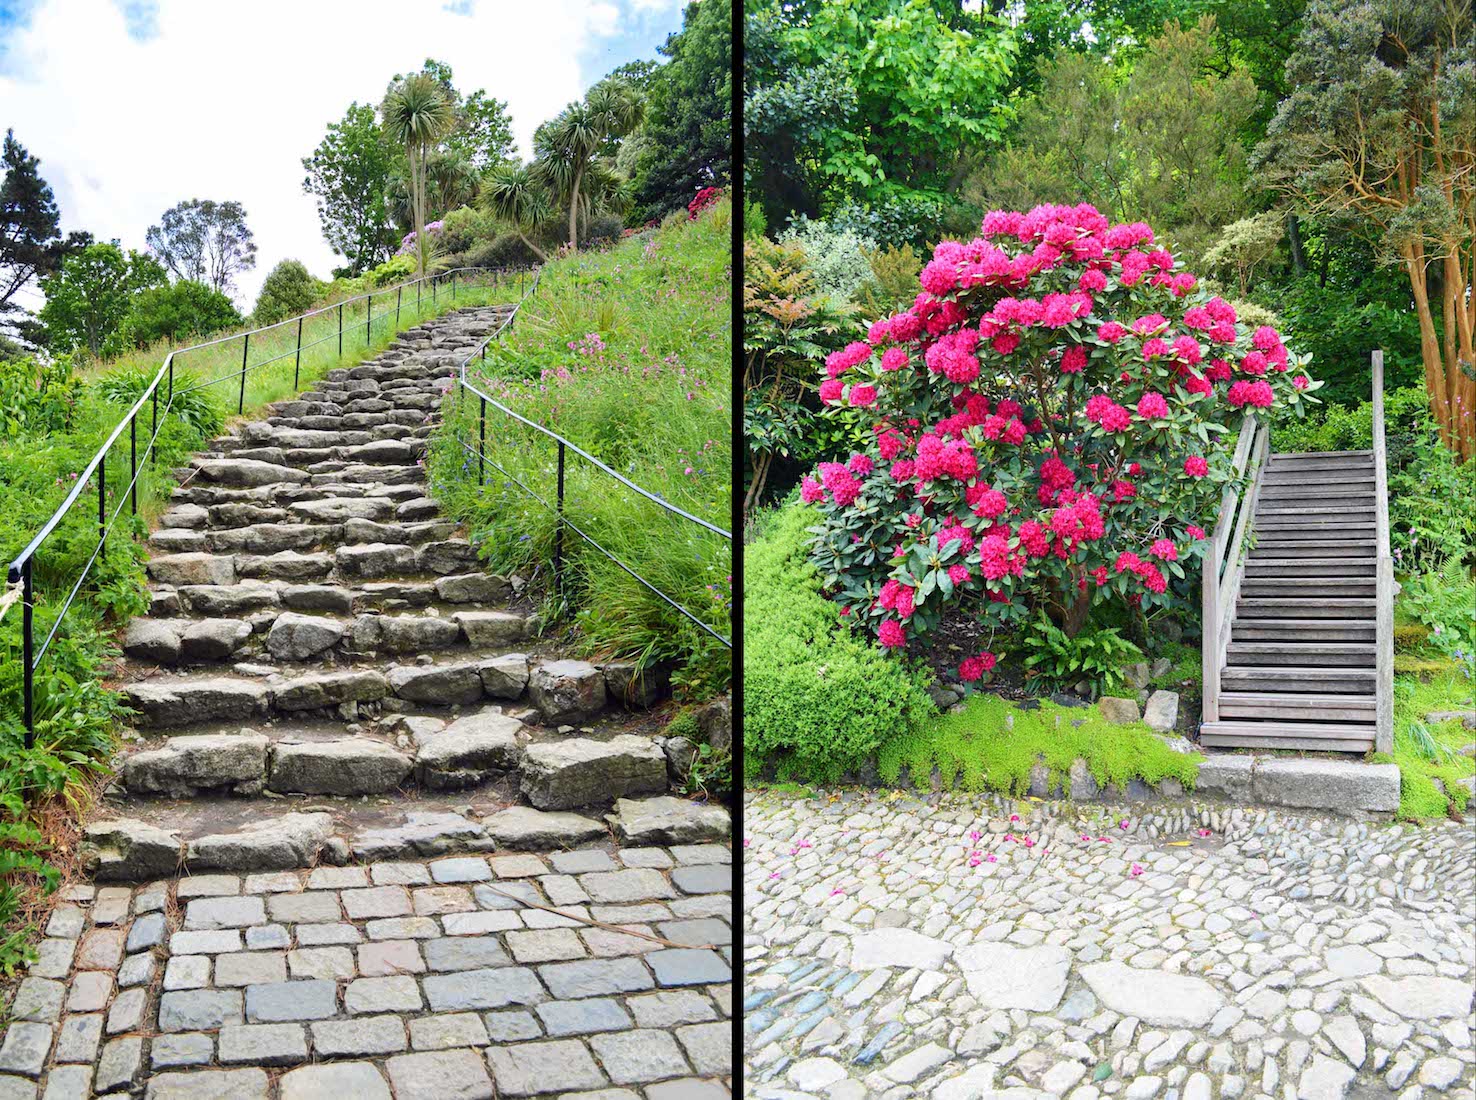
C23. STEPS DOWN

We descend by means of these garden steps. It has been a very pleasant excursion.
C24. FINAL LOOK
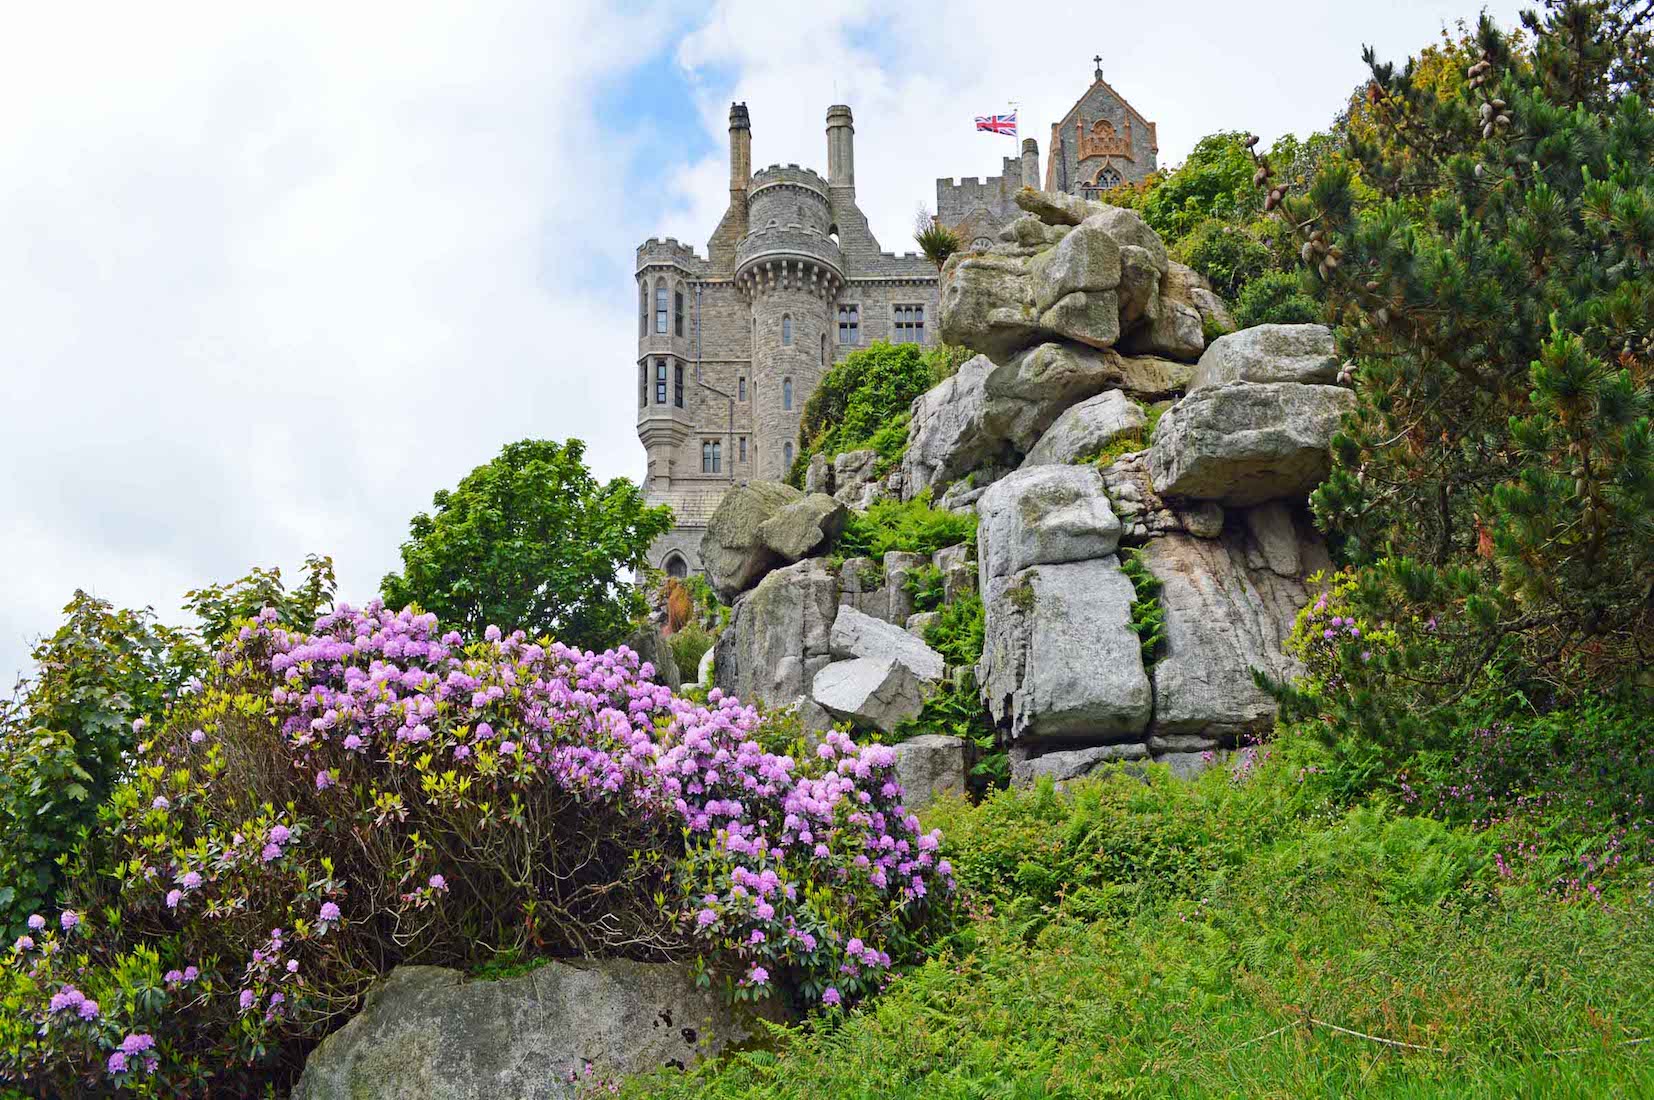
A final look back at the Castle past the brilliant mauve rhododendron bush. It is amazing that these sub-tropical plants should thrive here.
C25. SHRUBBERY
As we descend to the Laundry Lawn, the Castle disappears behind a bank of trees and shrubbery.
C26. ISLAND CAFÉ
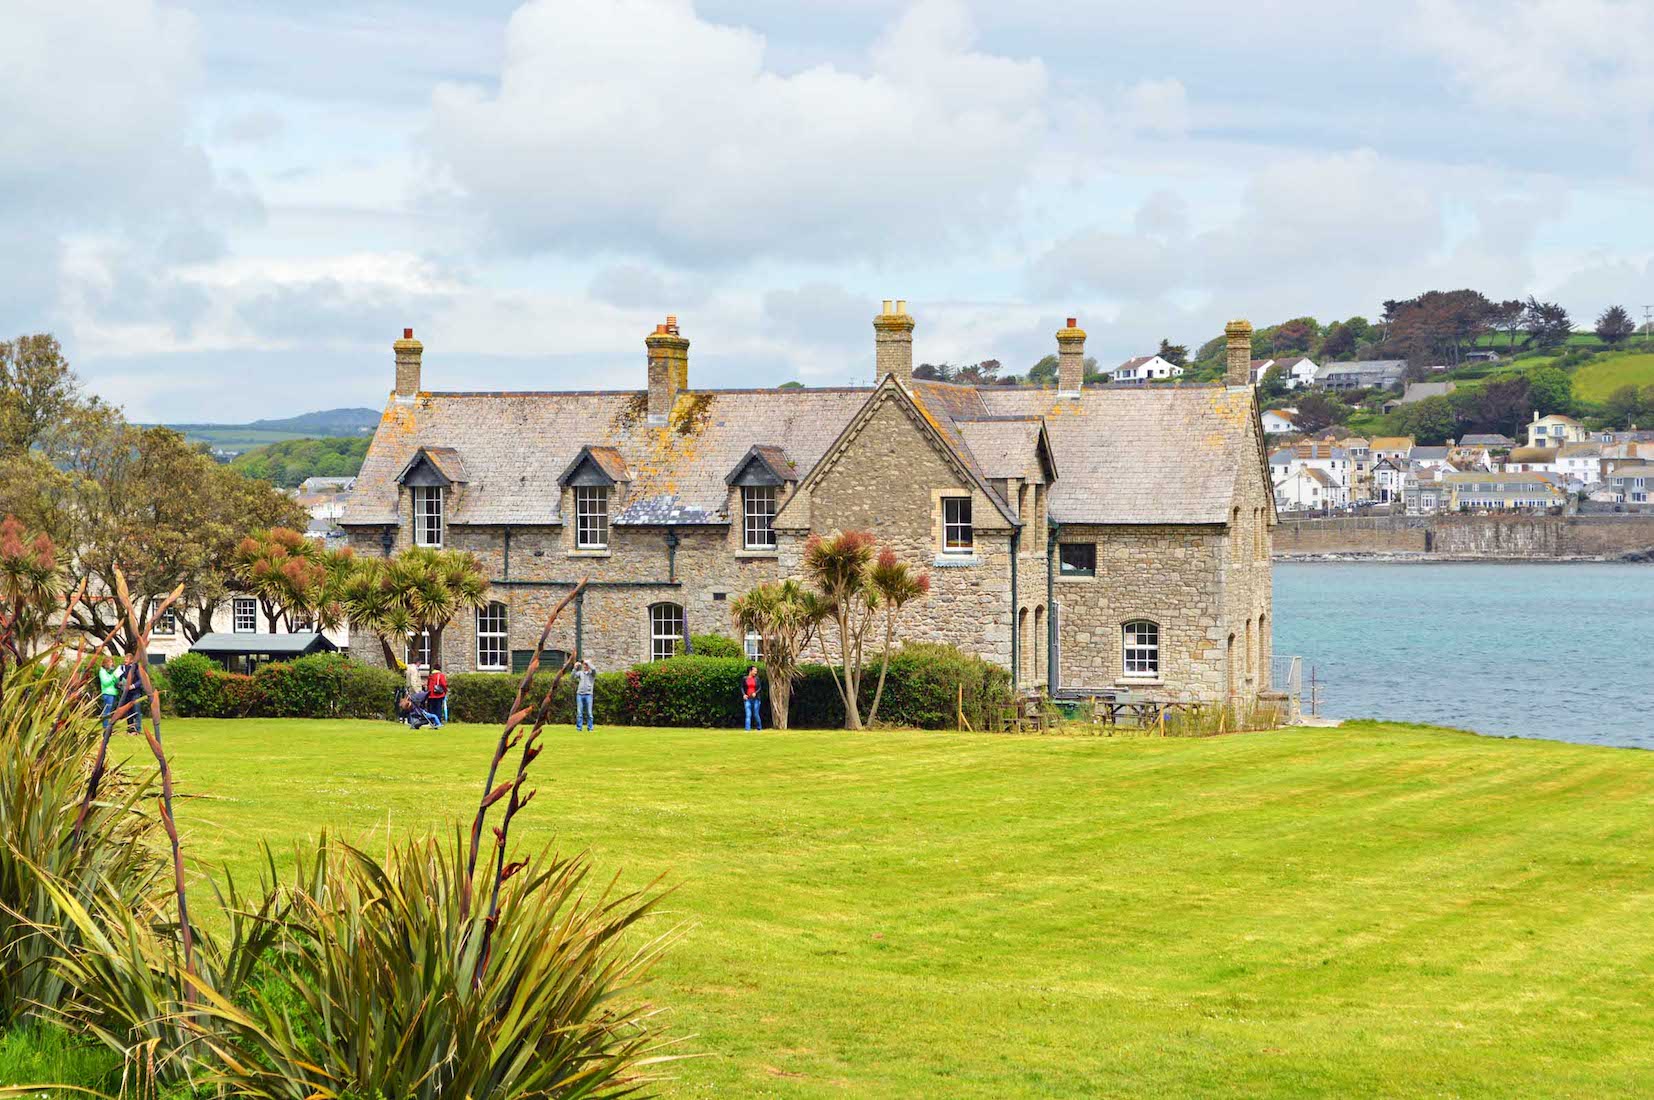
And now we are back at the Laundry Lawn. The handsome old building in front of us houses the Island Café – our next destination for a welcome cup of coffee!
D1. CASTLE PLAN
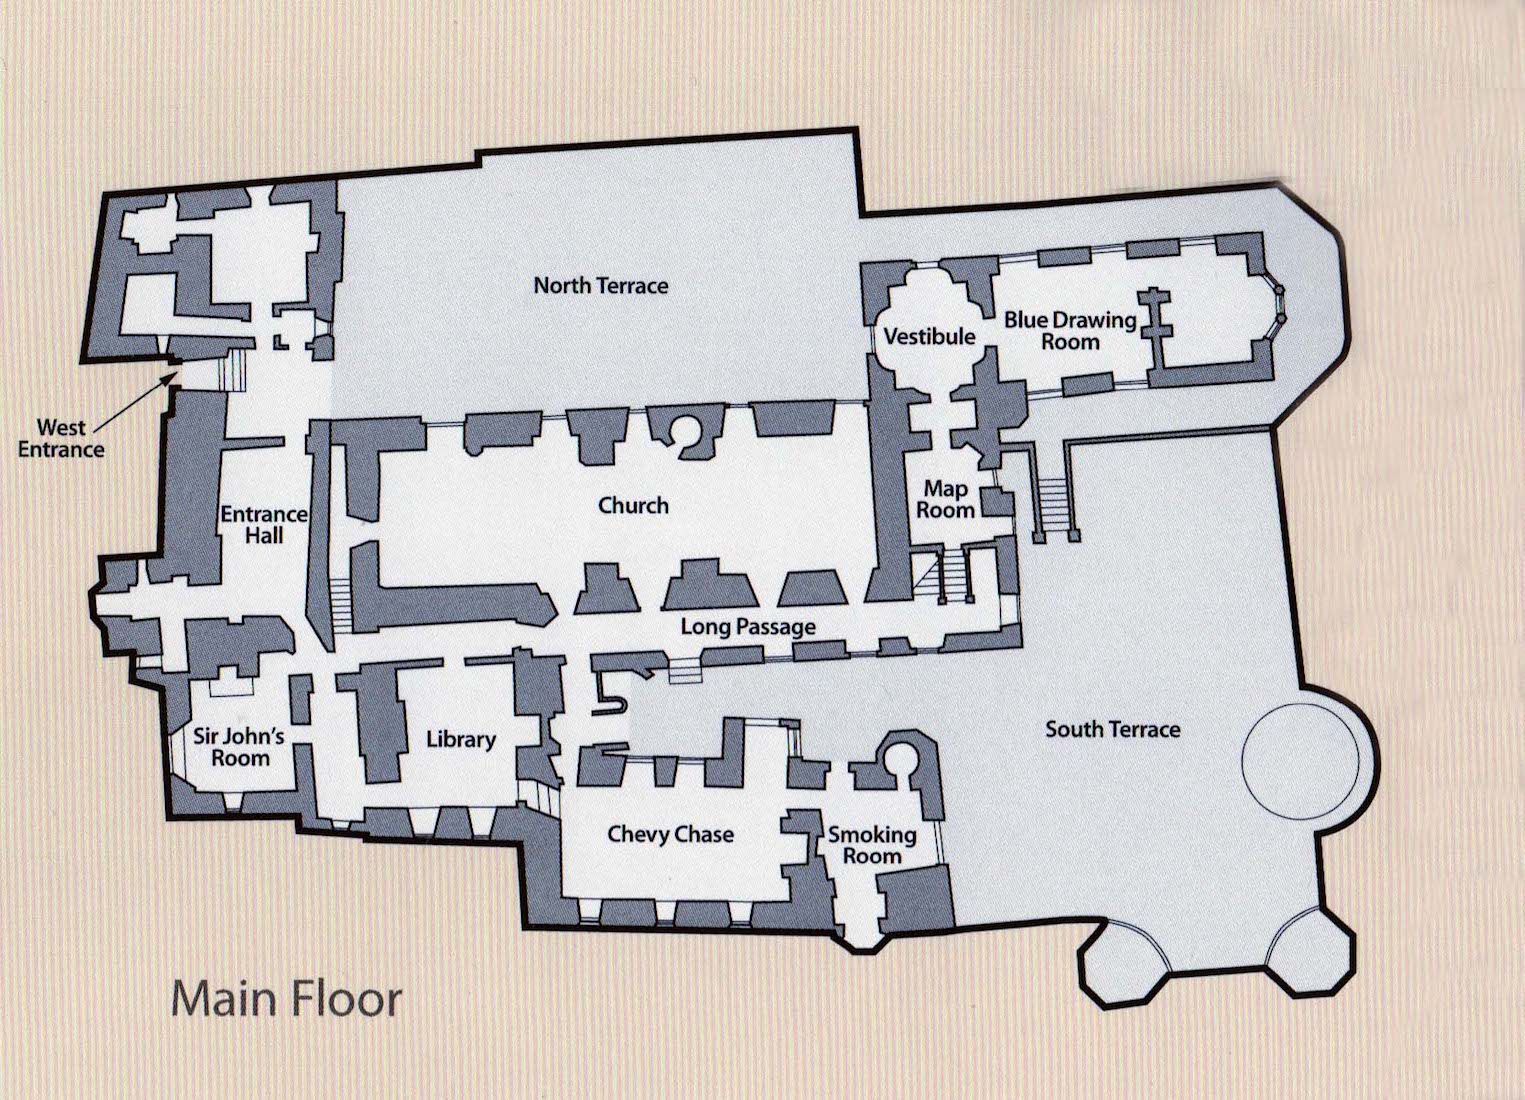
This ‘flat’ plan of the castle is a little misleading as there are many different levels, but it does give a good idea of where visitors are directed to. We enter by the West Entrance, and walk via the Entrance Hall to Sir John’s Room, the Library, Chevy Chase, the Smoking Room and out to the South Terrace. Then up around the Blue Drawing Room to the North Terrace and into the Church. Next out to the North Terrace again, to the Blue Room, Map Room, Long Passage before going ‘down under’ to the Garrison Room, Museum, and finally out just north of the West Entrance.
D2. TO THE CASTLE!
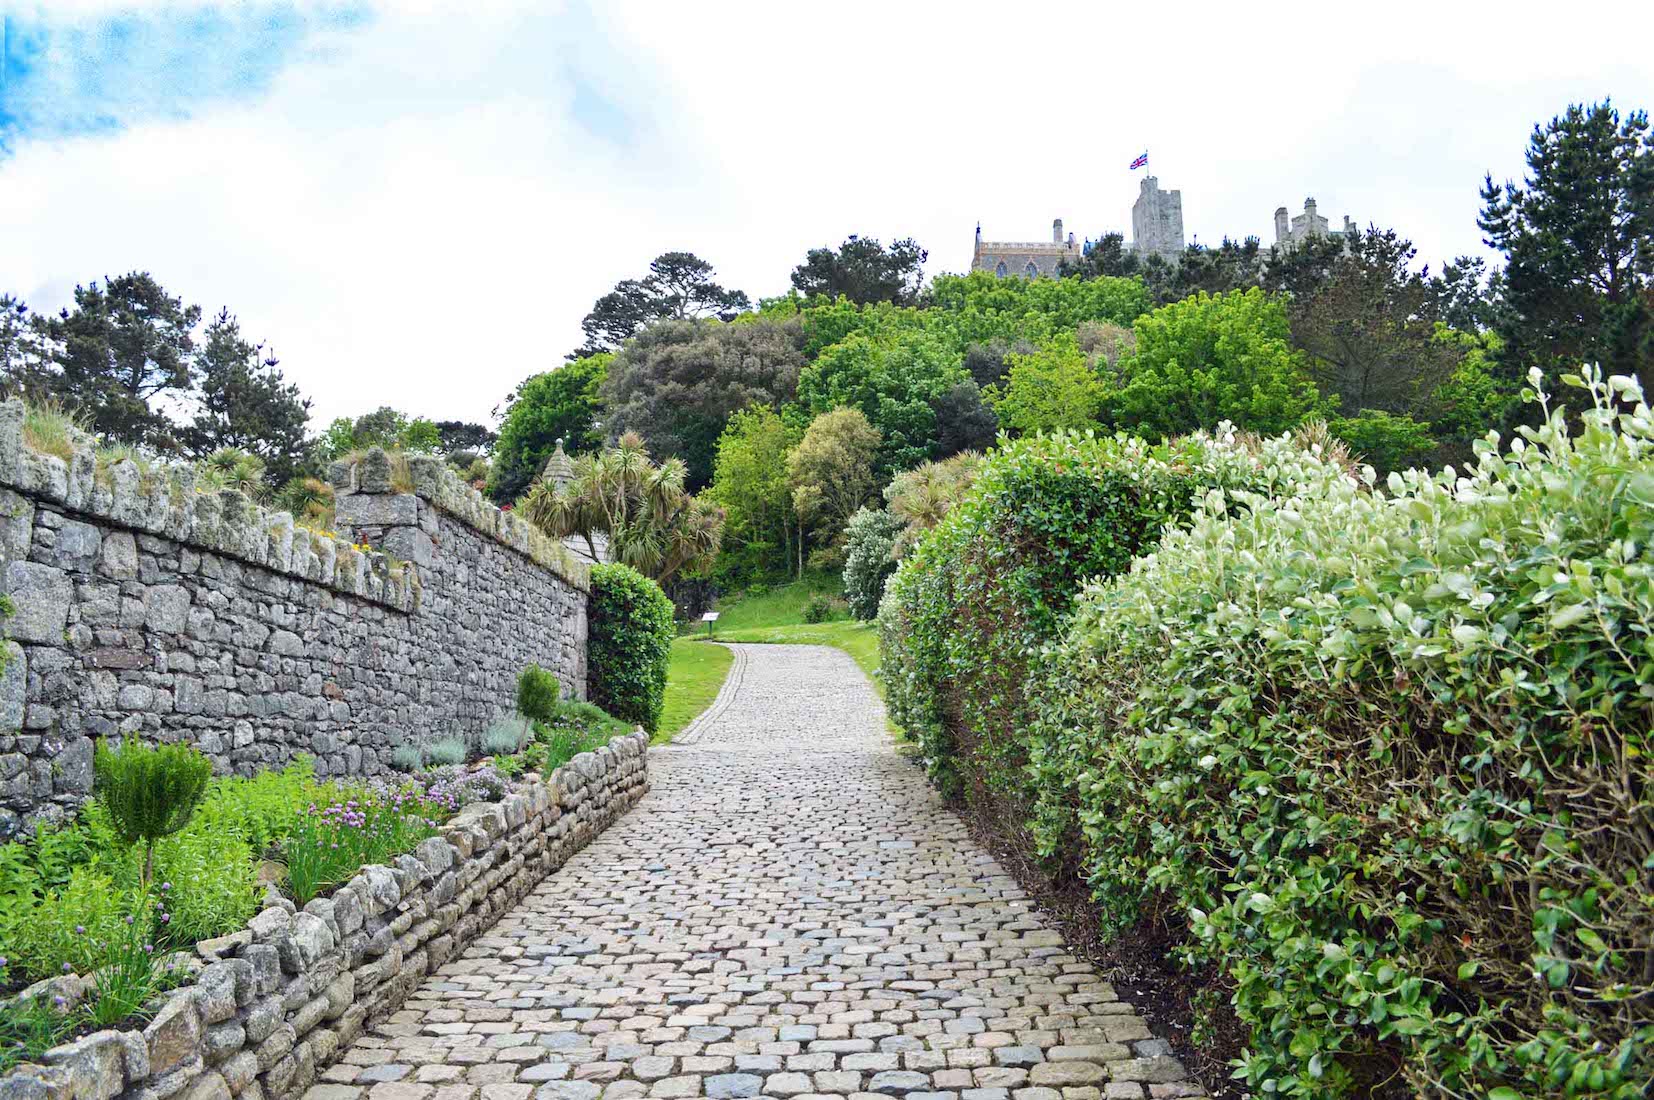
We begin our Castle adventure!! Leaving the cobbled courtyard where we first entered, we follow this wide and easy path, gradually climbing the slope. There is initially a stone wall on the left and lovely shrubbery on the right. This climb to the Castle is going to be a breeze!
D3. DAIRY

D03, D04. Ahead lies an attractive Victorian building which was built as a dairy. Its design replicates the kitchens at Glastonbury Abbey. For some 25 years up to 1909, a small herd of Jersey cows was kept on the Mount to provide for the needs of the island.
D4. PILGRIM STEPS, RHODODENDRON
Continuing, the path changes, and we climb the steep Pilgrim Steps, believed to have been used by medieval pilgrims. At the top of the Pilgrim Steps, this wooden staircase leads to the Cornish Cross Garden – the site of various small headstones in the pets’ cemetery, dated between 1891 and 1923.
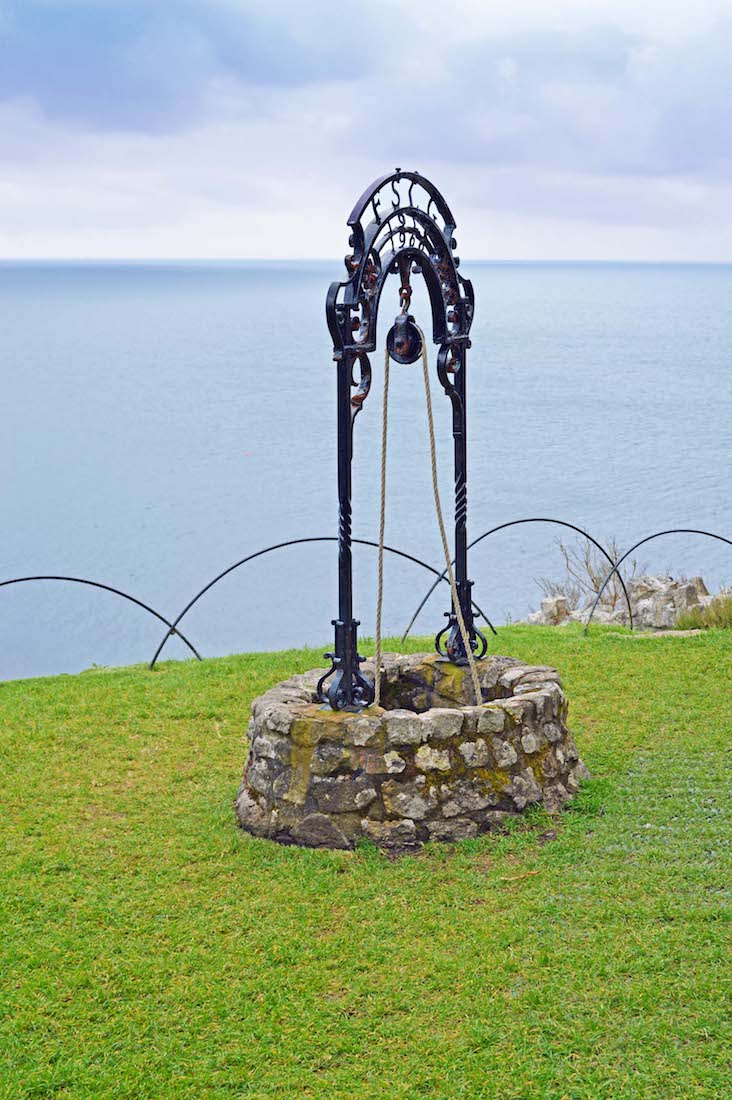
D5. GIANT’S WELL

We continue up the main path to the Giant’s Well. Legend has it that deep in the mists of time, a giant called Cormoran used to live in a cave here, causing great disruption. Finally a lad, appropriately called Jack, dug a large hole where the present well is, covered it with branches, and then enticed the giant to fall to his death.
D6. GIANT’S HEART
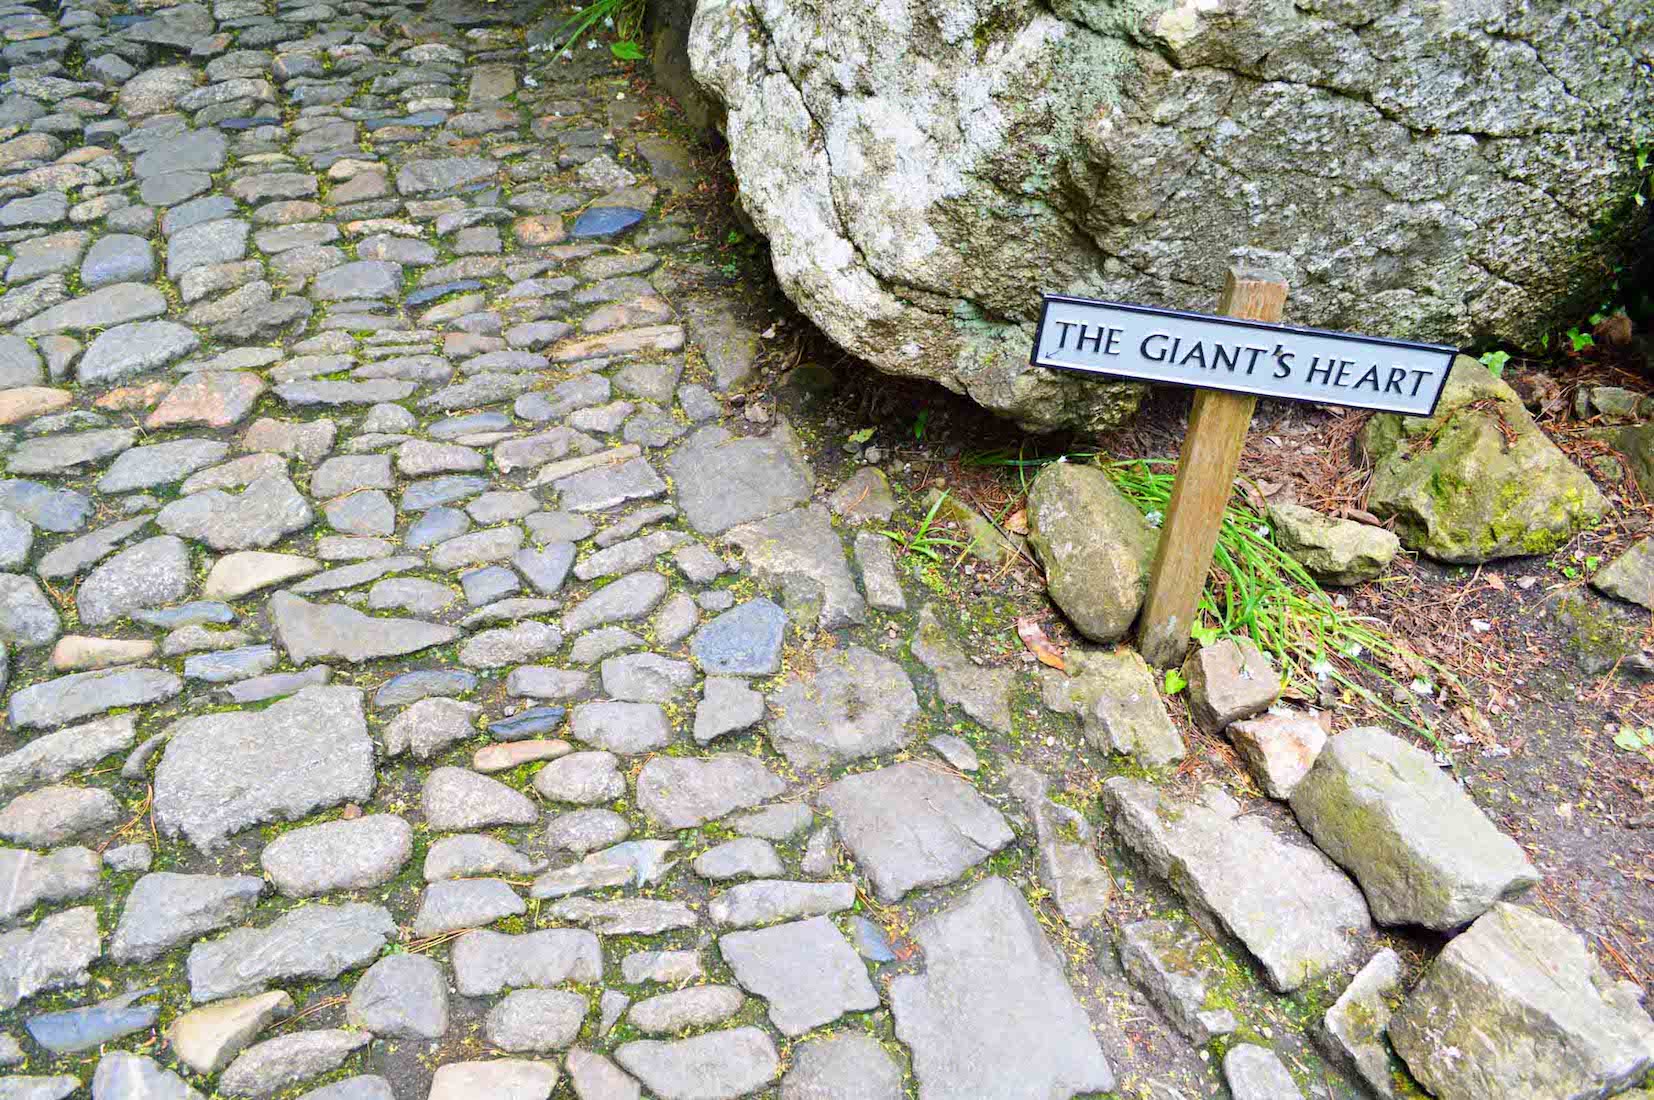
Further up the path is a sign which reads ‘The Giant’s Heart’. It actually refers to an insignificant little dark stone amongst the cobbles (at left).
D7. DEFENSIVE WALL
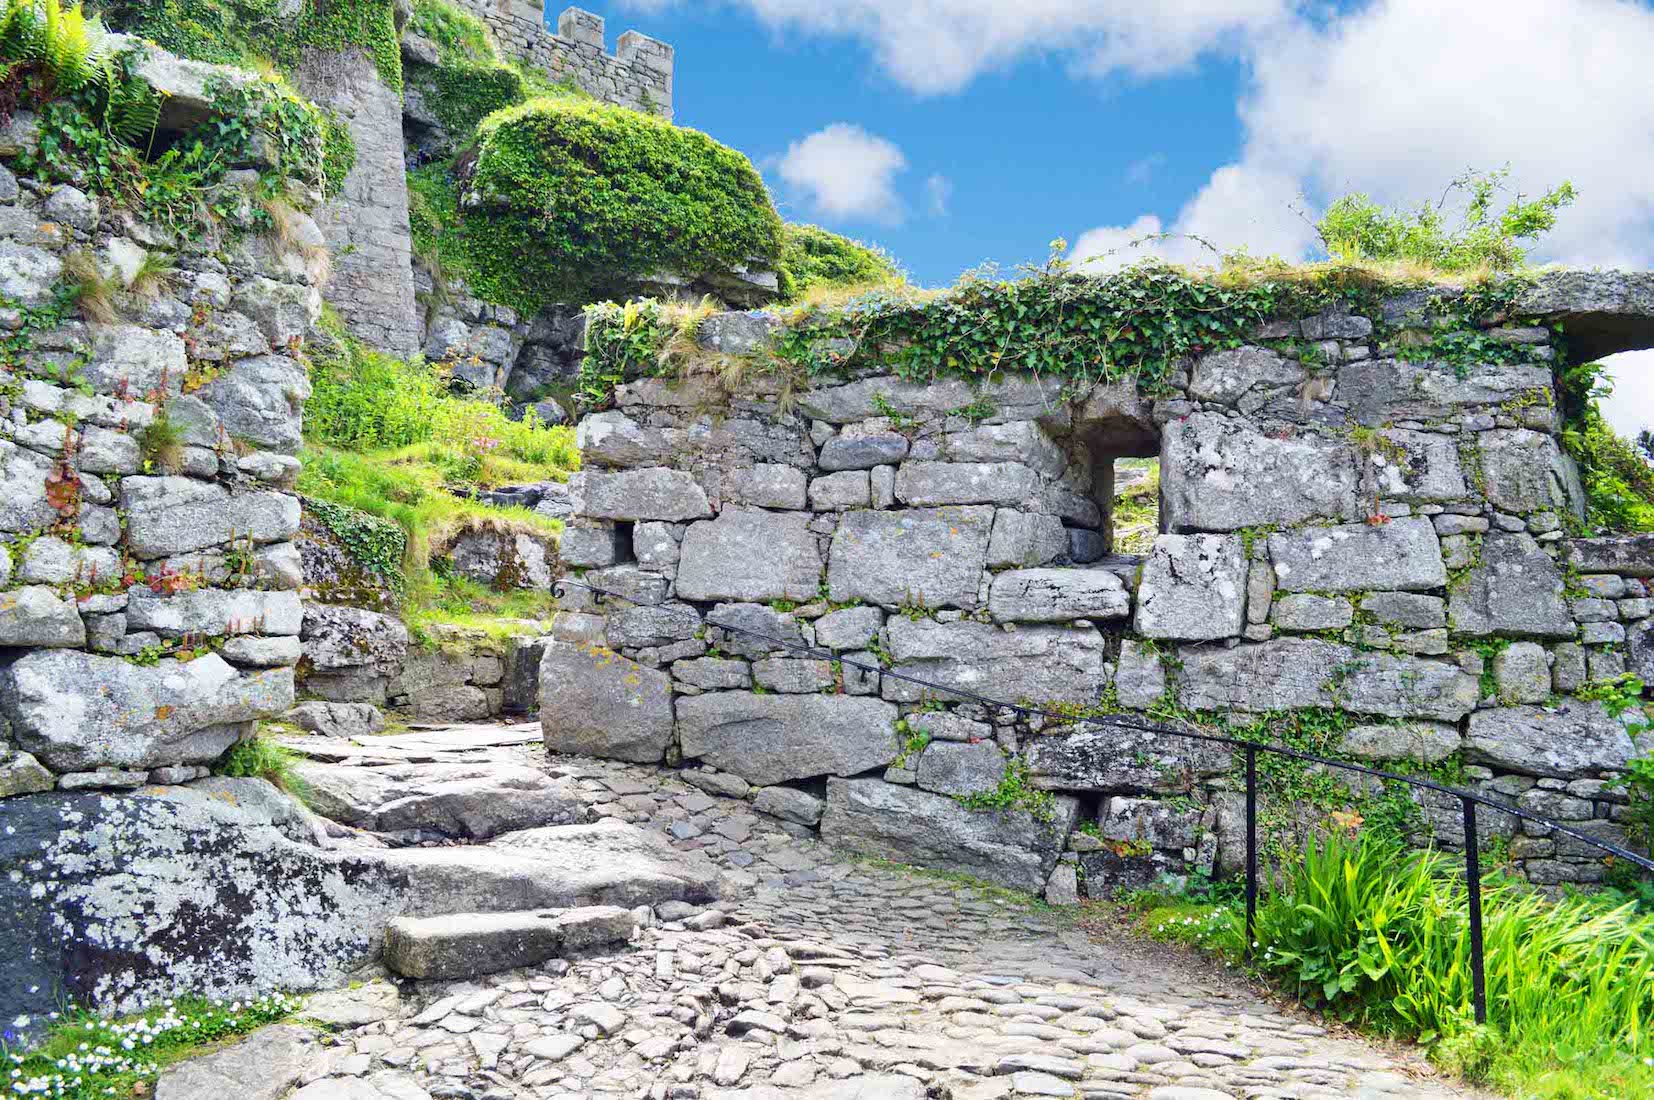
As we continue to climb we come to this defensive wall on our right, and the remains of a guard house on our left. Earlier there would have been a defensive gate across the gap. Notice too the Murdering Hole in the defensive wall. When the enemy was at the gate, a musket fired through this hole would have been lethal.
D8. BOILED EGG!
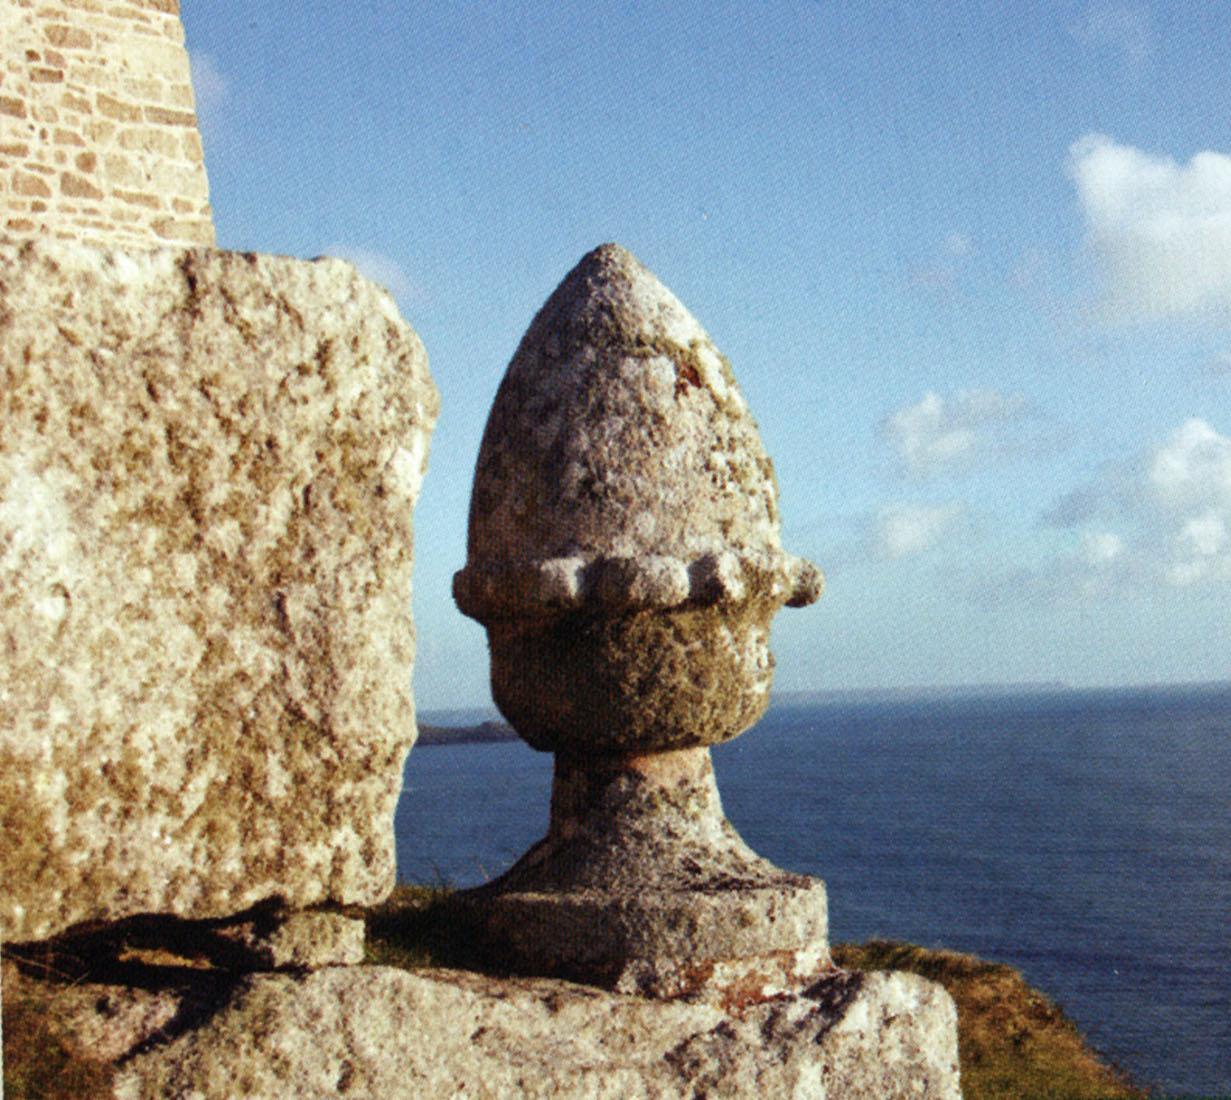
The upward climb continues and we are almost at the top. At right is shown a curious acorn shaped statue. Of course, it might have been a boiled egg! An old drawing in the Long Passage (later) shows this as an ornamental feature on the roof of the Blue Drawing Room, so possibly it was moved down here at a later date. This image comes from the book ‘A Personal Tour of St Michael’s Mount’ by James St Aubyn.
D9. LAST STEPS
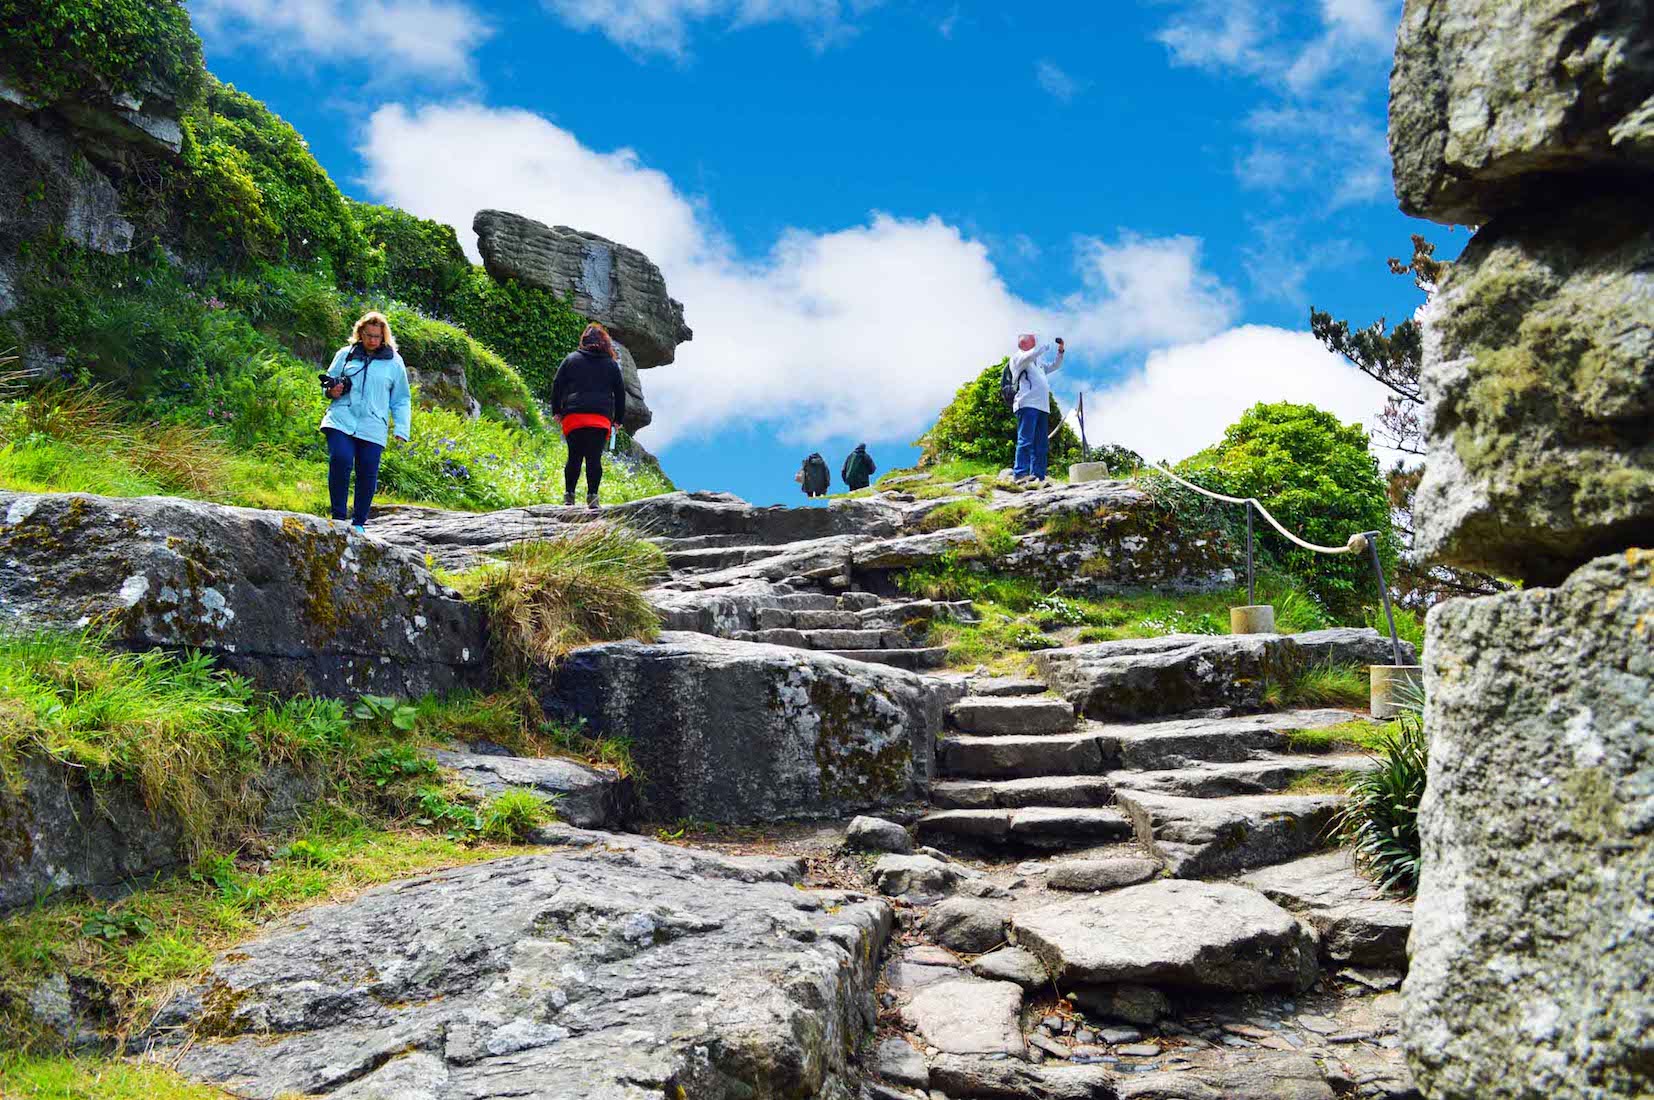
The climb continues, but now we are almost at the top. Thank goodness!
D10. SENTRY BOX
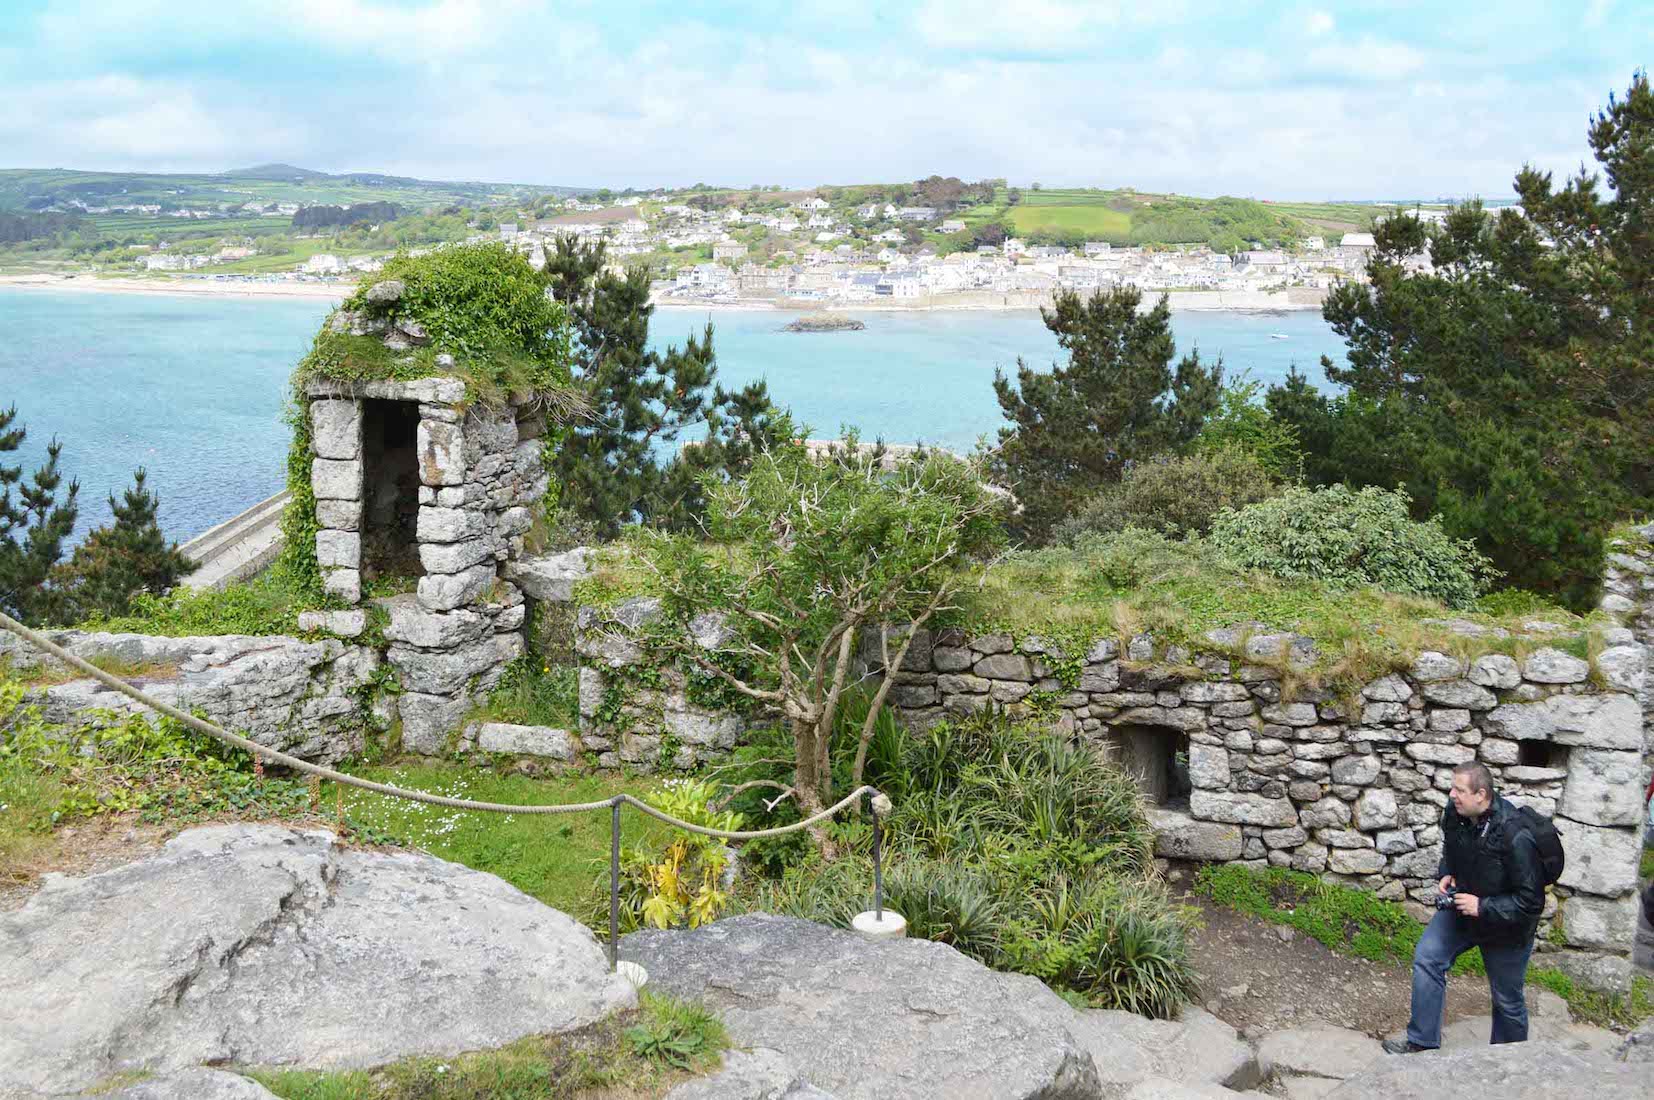
We have now arrived at a relatively level piece of ground where the fortifications comprise a stone wall and a sentry box. This section overlooks the harbour, which can be glimpsed in the background.
D11. CANNONS
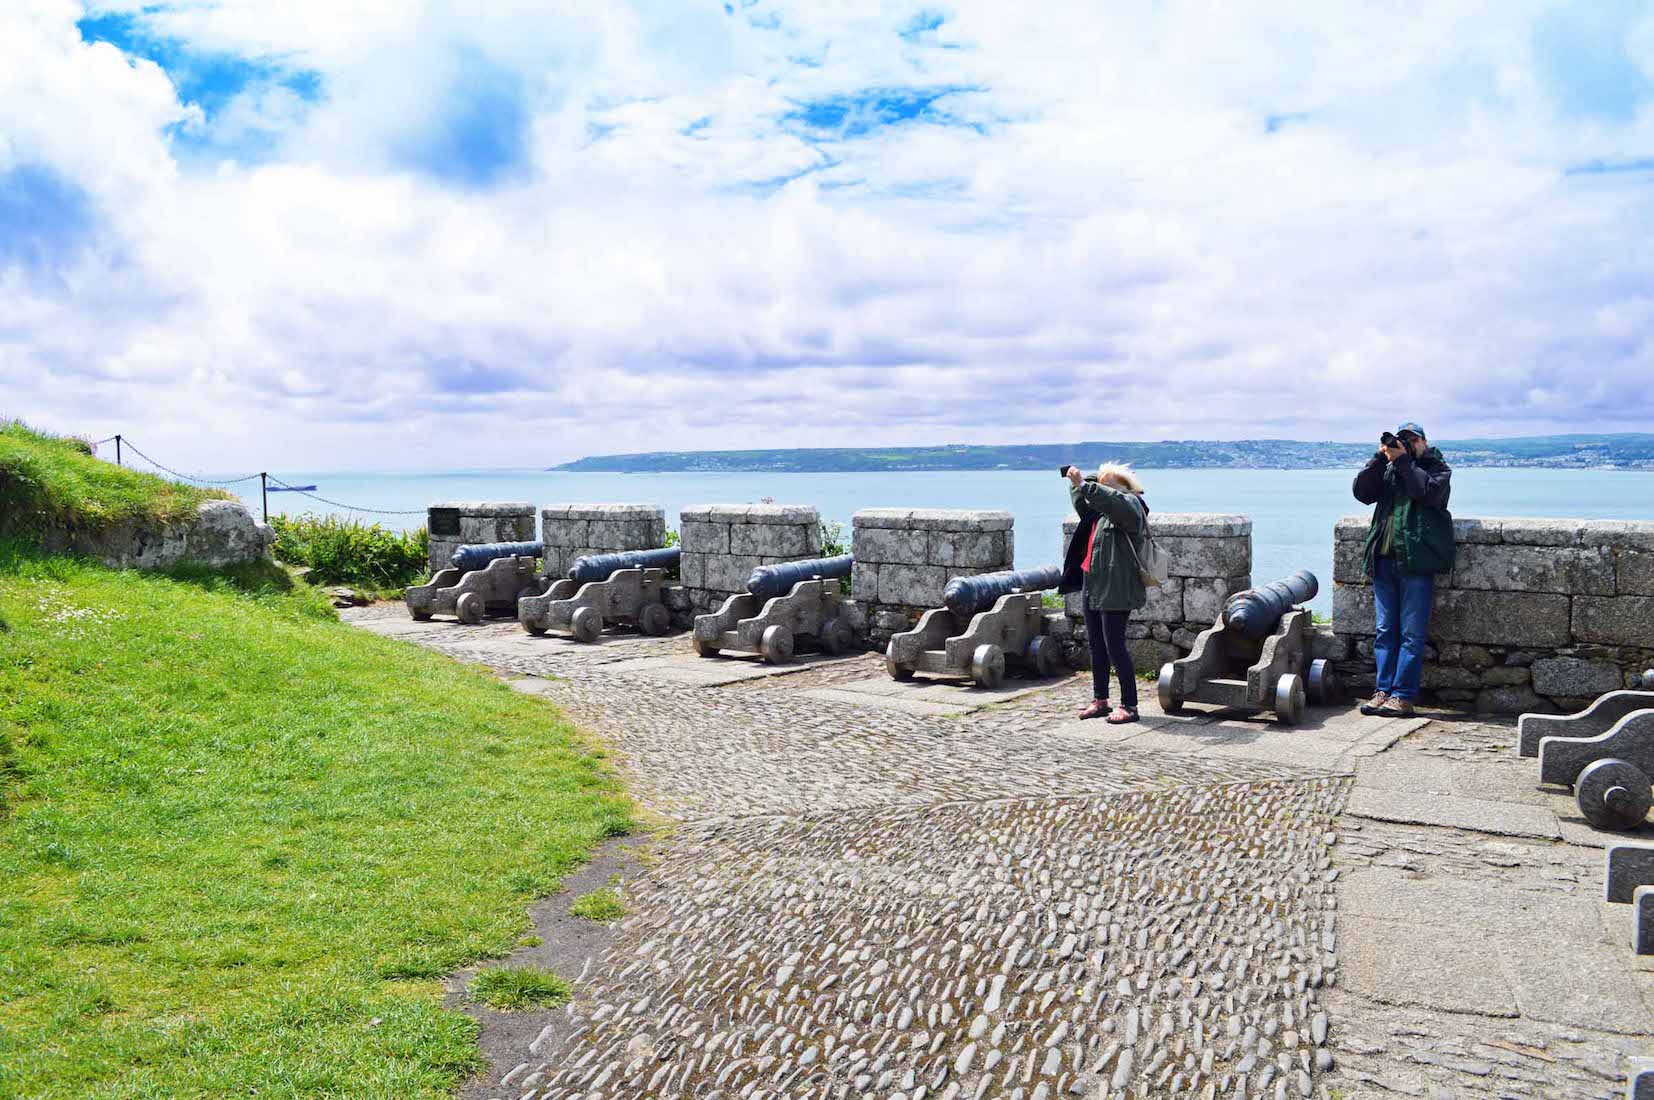
This row of cannons was probably installed in the 18th century, replacing earlier and smaller gun emplacements. They have been mainly used for ceremonial purposes, although they were serviceable enough for serious action against a French frigate during the Napoleonic Wars.
D12. CLOSE UP VIEW
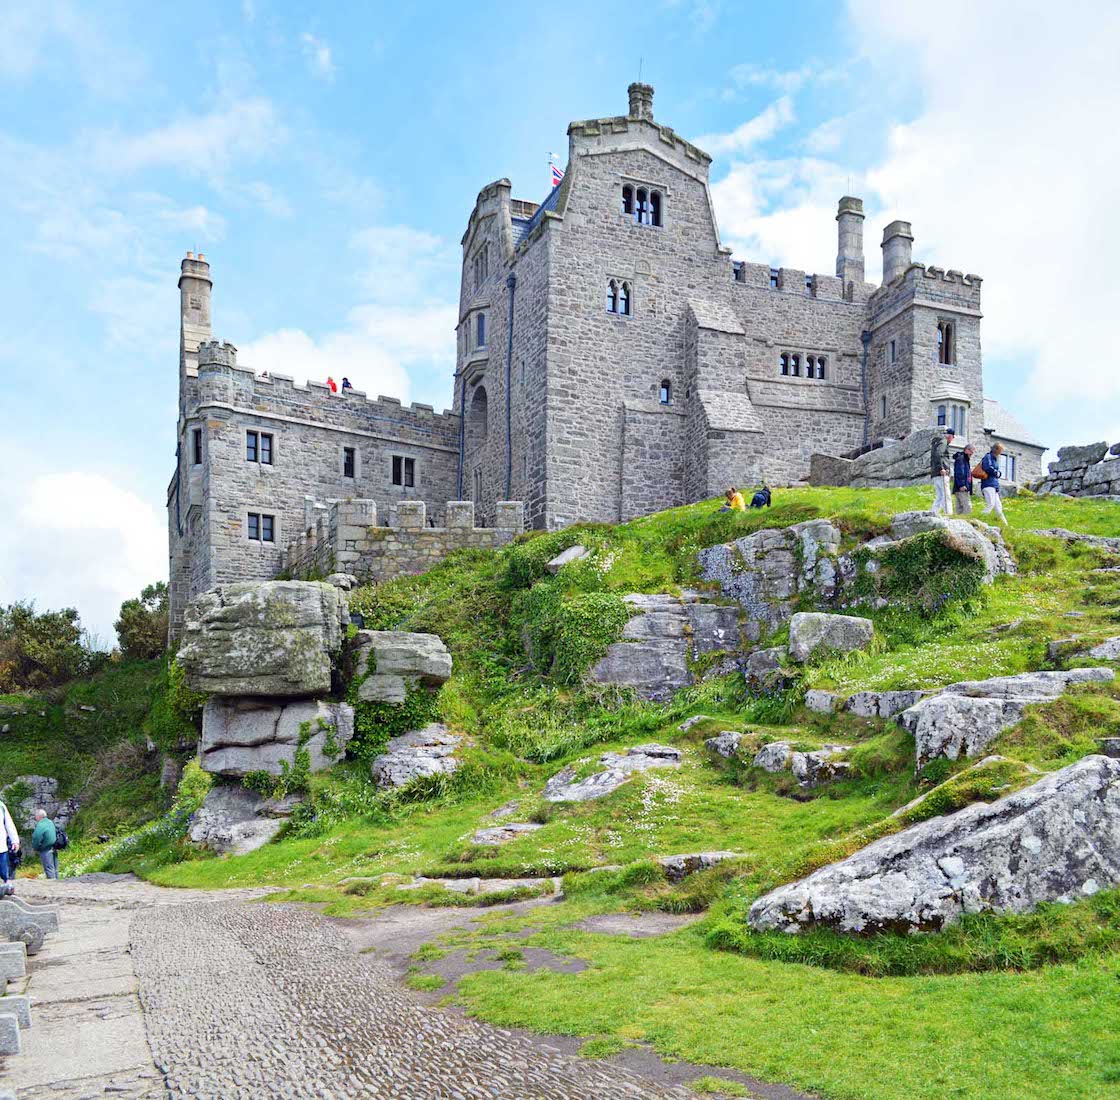
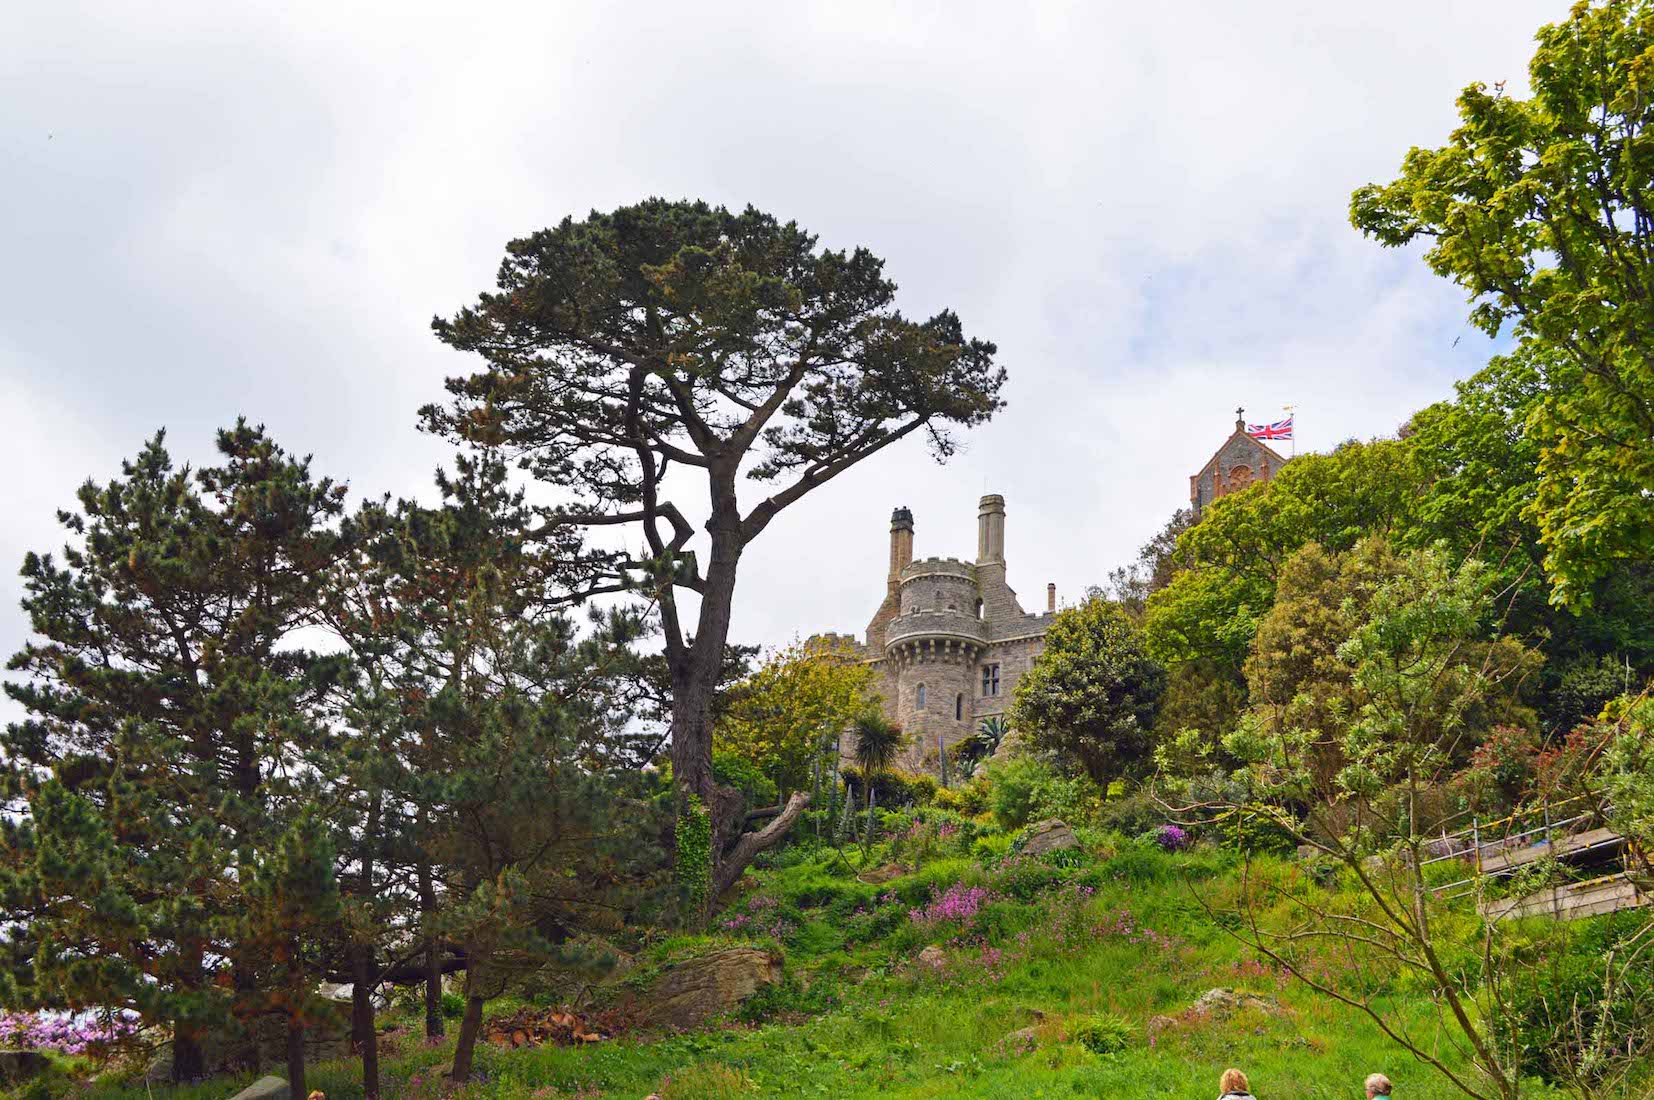
Turning around, we get our first good close up view of the Castle. It is certainly an impressive grey structure!
D13. UP TO THE CASTLE

Moving to the south side, we come to another row of cannons, these pointing straight out to sea. From here we shall make our way to the West Door. This would have been the only approach to the Castle in early times.